一、如何认识ESP32-S3开发板?
1.1 先从板子整体开始
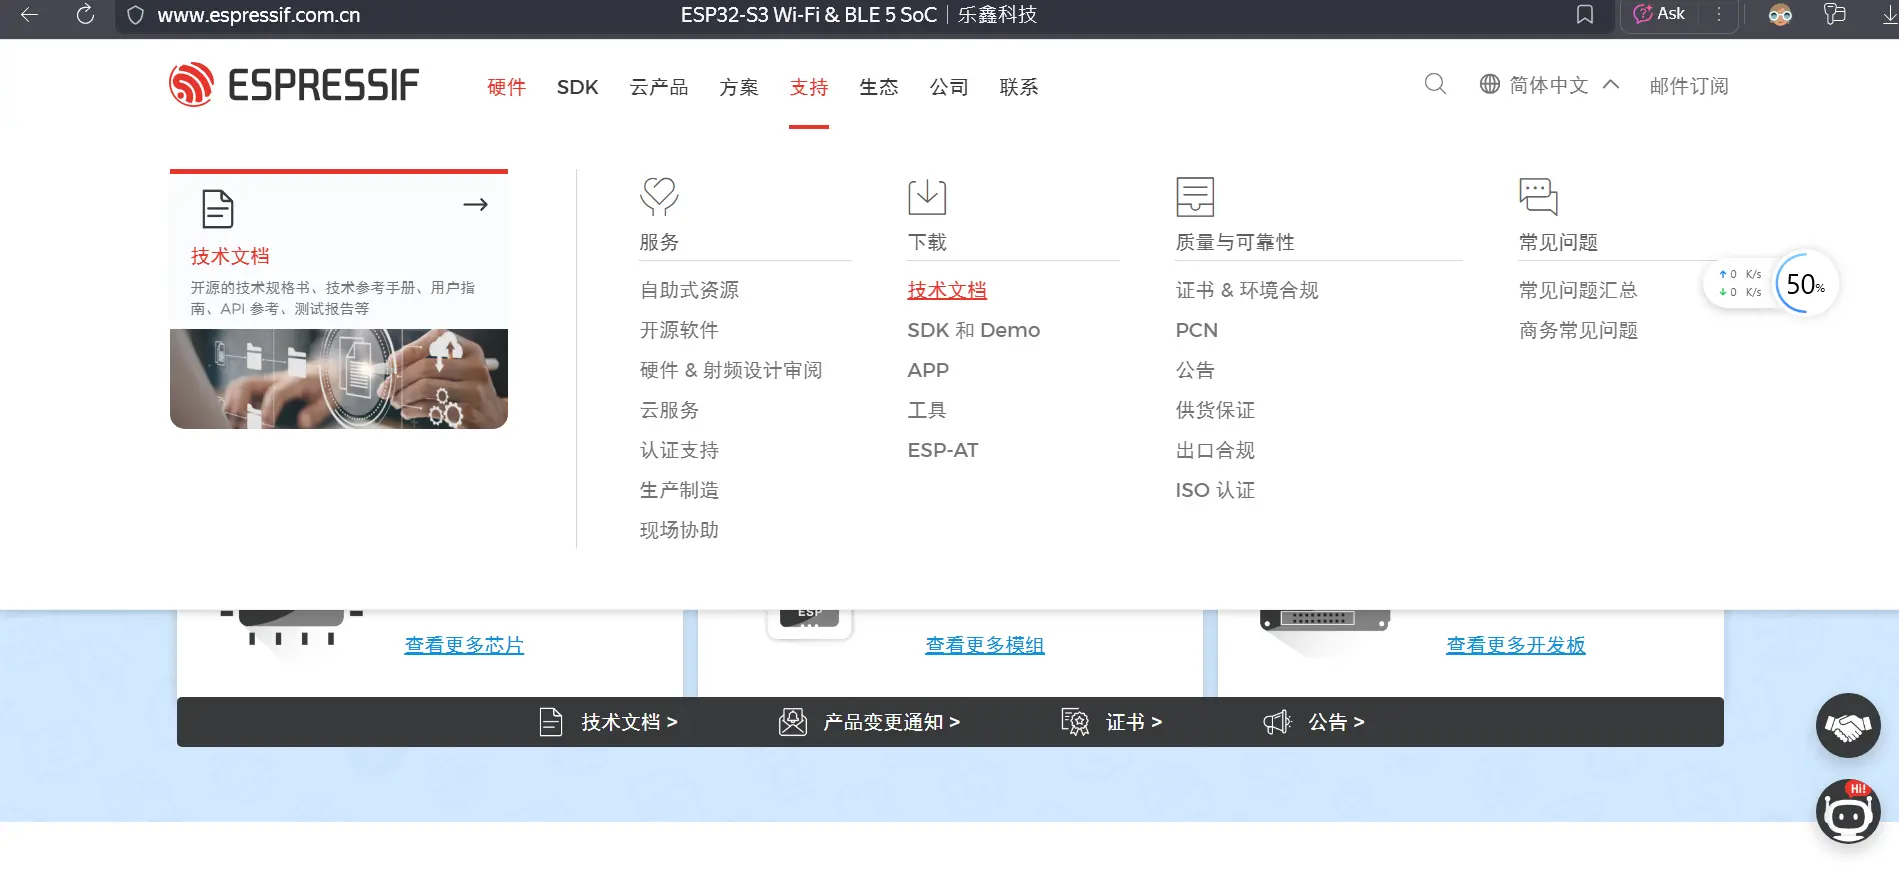
https://www.espressif.com/zh-hans

什么是GPIO?
  a. 输出模式(Output)
  b. 输出的意思是由芯片供给电源。比如我们想要 10 号引脚连接一个 LED 灯,可以将 LED 的正极连接 10 号引脚,负极连接 GND 引脚。接着通过代码告诉模组:让 10 号引脚发出一个高电平(即 3.3V 电压)。10 号引脚输出电压后,LED 灯就亮了。
  c. 输入模式(Input)
  d. 输入的意思是接收并监测引脚上的电平状态。
  e. (a) 比如有另外一款单片机的 9 号引脚输出高电平,我们通过一根跳线将其连接到 ESP32-S3 开发板的 10 号引脚上。
  f. (b) 将这个 10 号引脚切换为输入模式(大部分情况下是上拉输入模式)。
  g. (c) 通过代码告诉模组:监测一下 10 号引脚是高电平还是低电平。
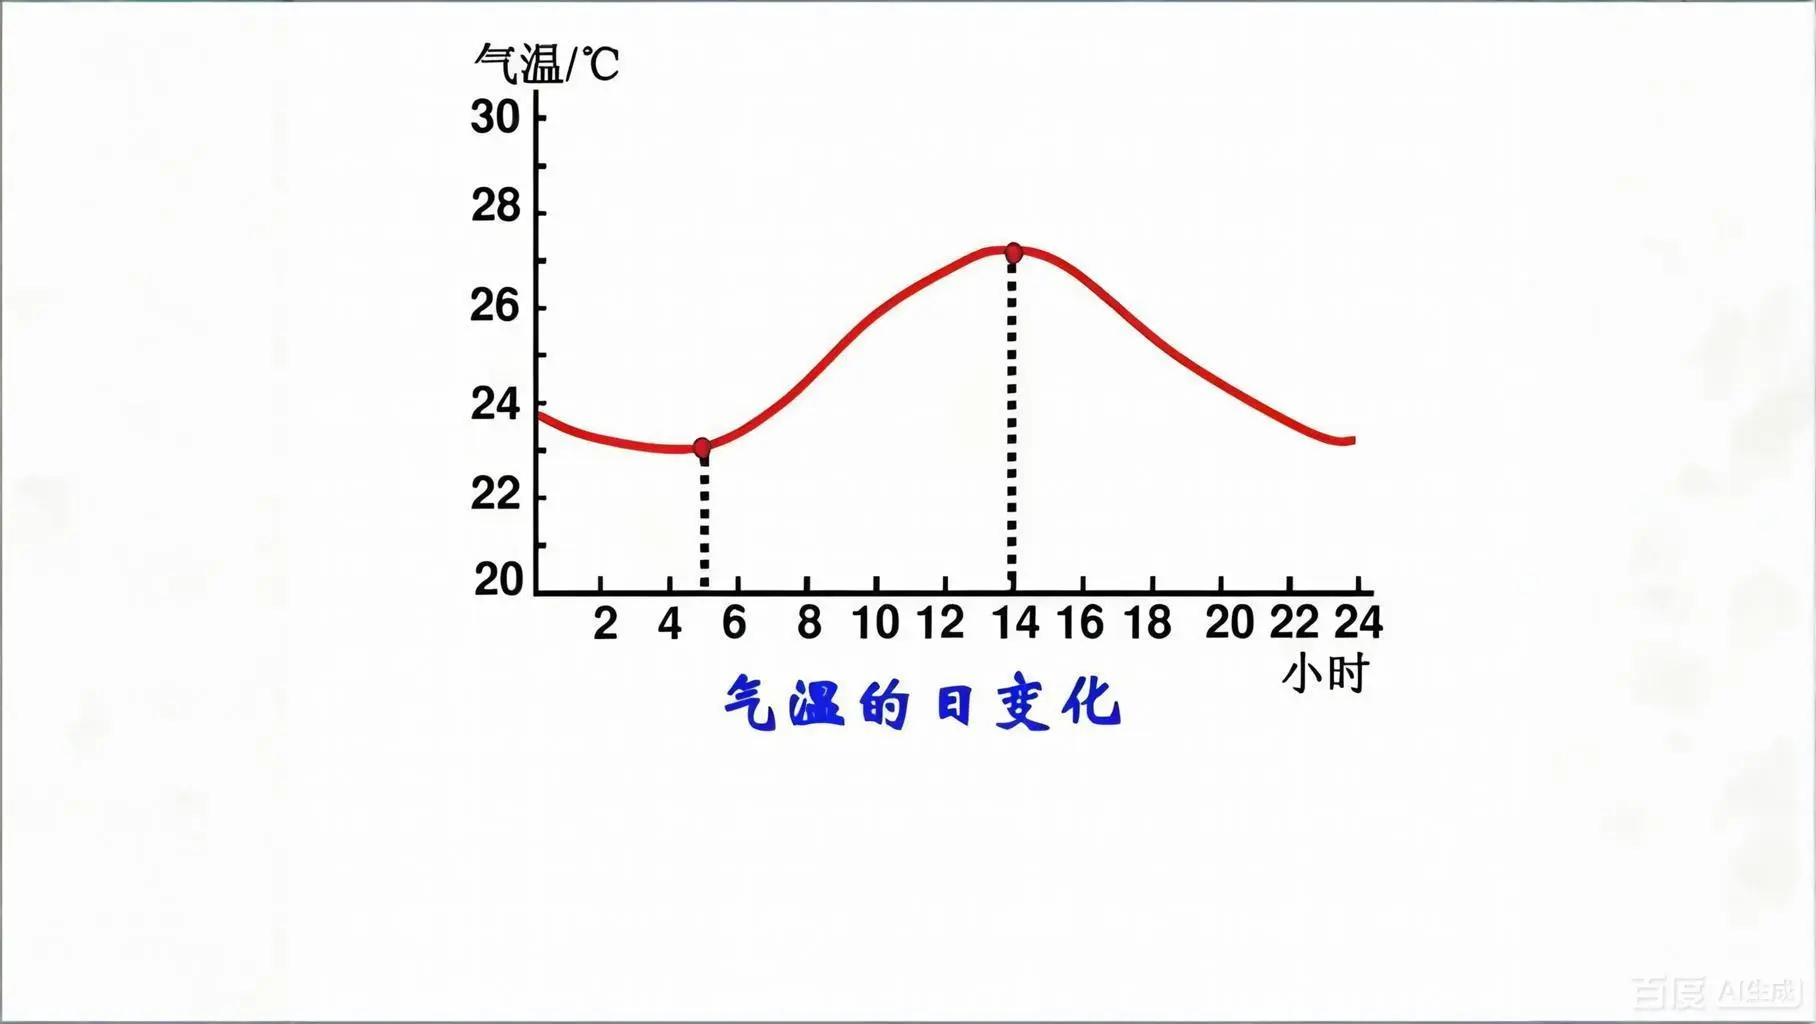
什么是ADC?
a. 模拟信号是连续的量。
b. (a) 以自然界为例,每天天气预报中的气温是连续变化的,而不是我们看到的那样每隔一小时更新一次。
c. (b) 这种连续变化的量就是模拟信号。
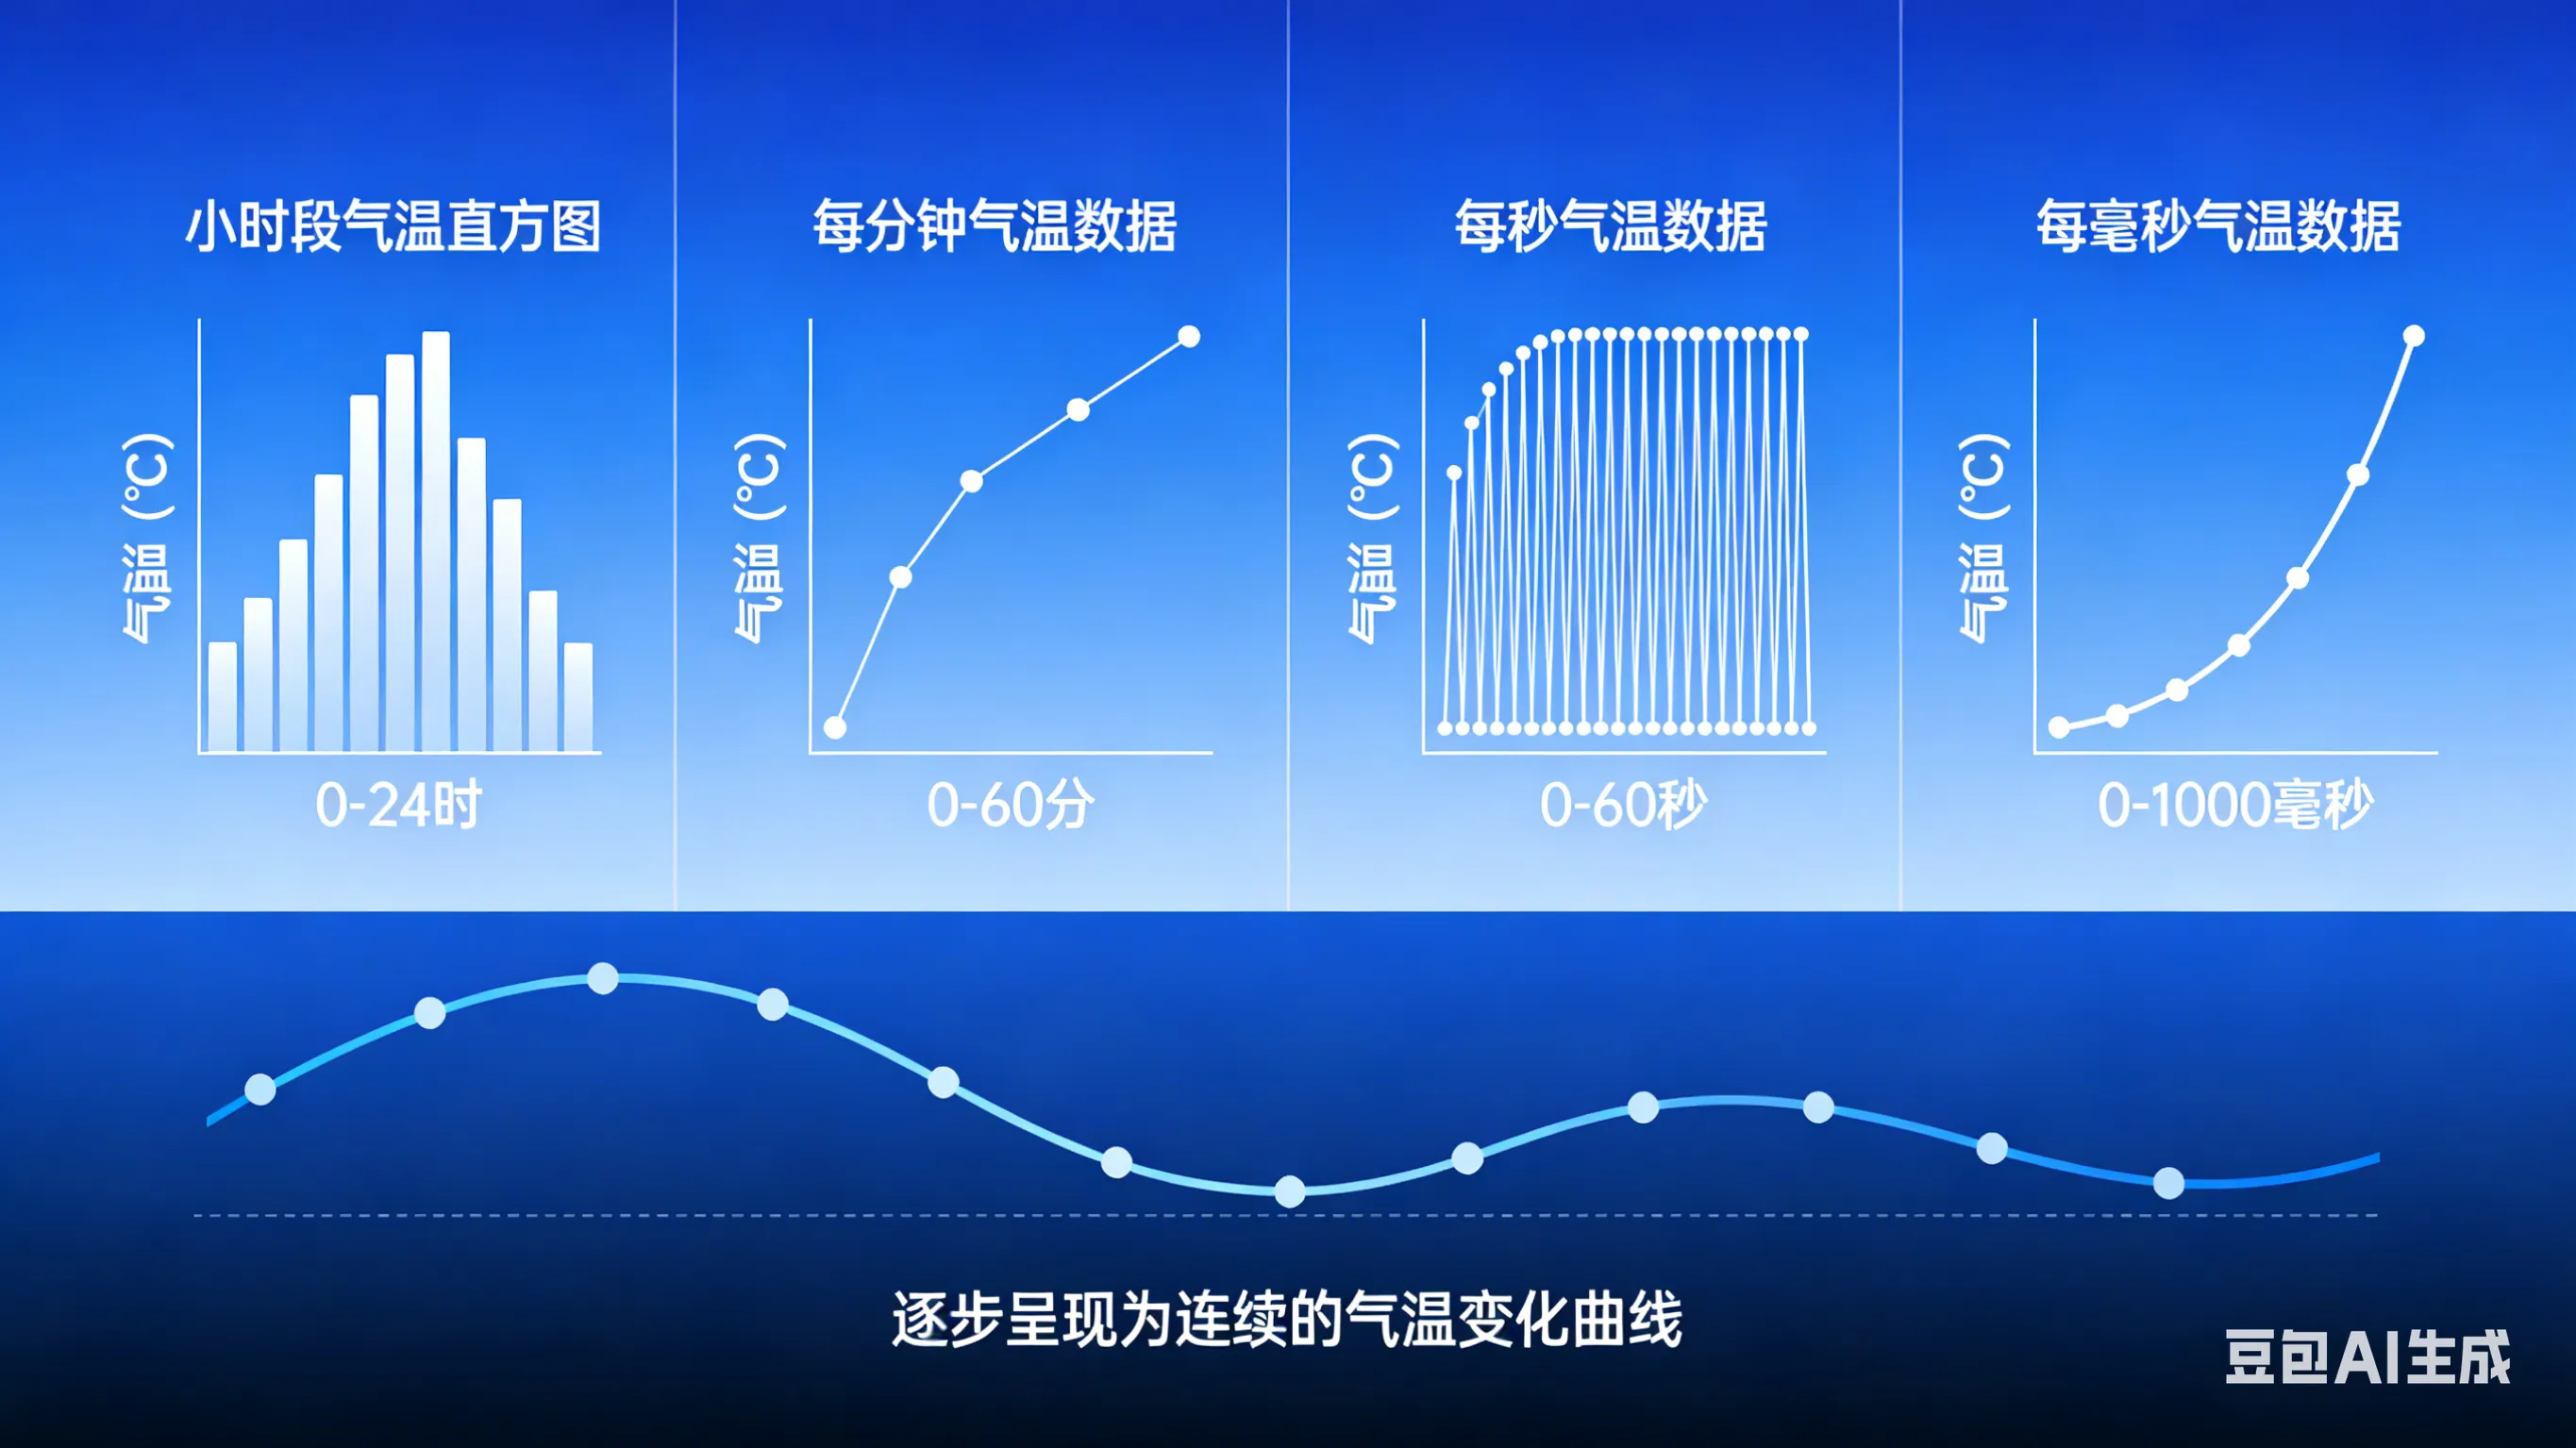
d. 数字信号是离散的。
e. (a) 如果我们将一天当中的气温每隔一小时监测一次,它就变成了离散、碎片化的数字信号。
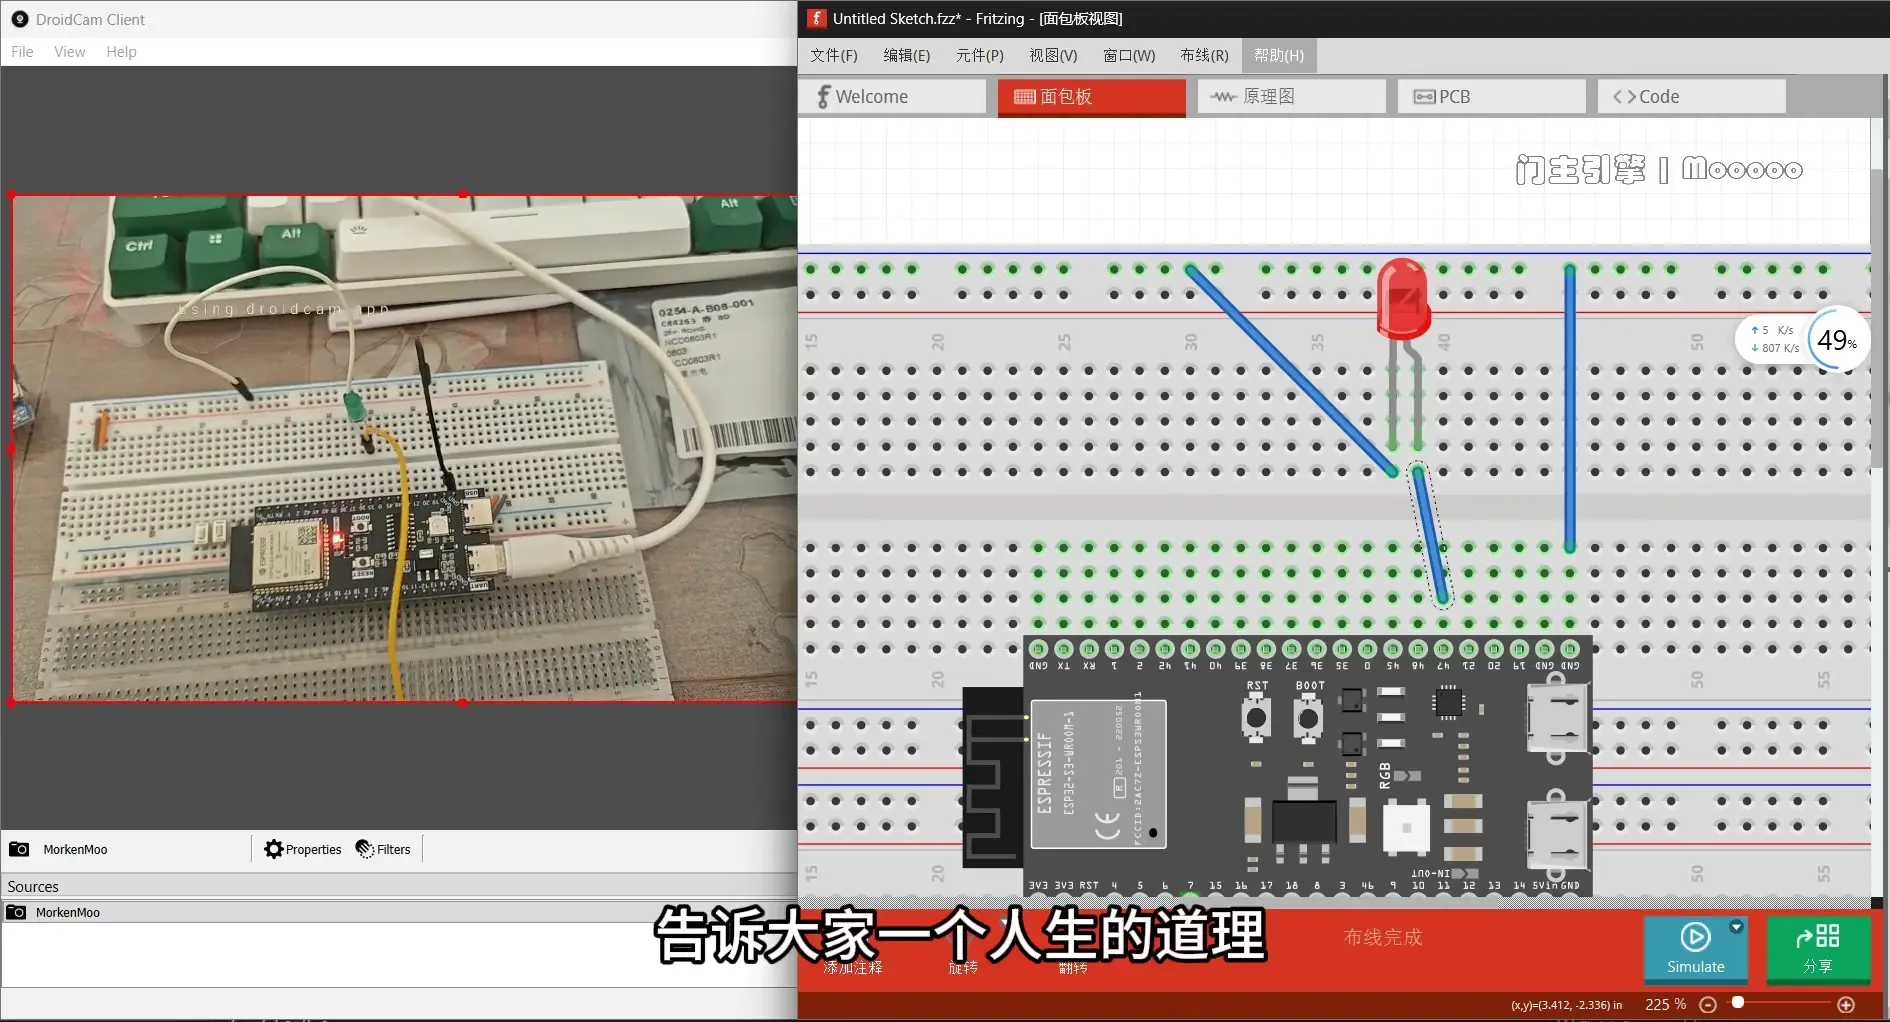
二、如何手搓ESP-IDF项目点亮第一颗LED灯?
流程:
准备硬件:
- (a) ESP32-S3 (b) 两块面包板 (c) 一颗 LED 灯 (d) 杜邦线若干 (e) 跳线若干 (f) 硬连接线若干
- 可选配件: 如果担心 LED 灯损坏的话,可以再找一个电阻作为保护
软件准备:
1. VS Code 还有 ESP-IDF 环境已经搭建好了
2. 创建项目:用 ESP-IDF 插件创建项目,然后选择模板
3. 编写代码
4. 编译烧录
5. 最后看实现的效果
https://www.espressif.com.cn/zh-hans/products/socs/esp32-s3

2.0 ESP-IDF 应用程序编程接口 (API) 中常见的约定和假设
https://docs.espressif.com/projects/esp-idf/zh_CN/latest/esp32s3/api-reference/api-conventions.html
ESP-IDF 由多个组件组成,组件中包含专门为 ESP 芯片编写的代码或第三方库(即第三方组件)。对于某些第三方库,ESP-IDF 提供专用的包装器和接口,以简化对第三方库的使用,或提高其与 ESP-IDF 其他功能的兼容性。某些情况下,第三方组件将直接呈现底层库的原始 API。
2.1 了解ESP32-S3应用程序启动流程
ESP32-S3 从上电到运行 app_main 函数中间所经历的步骤(即启动流程)。
宏观上,该启动流程可以分为如下 3 个步骤:
- 一级 (ROM) 引导加载程序 被固化在了 ESP32-S3 内部的 ROM 中,它会从 flash 的 0x0 偏移地址处加载二级引导加载程序至 RAM (IRAM & DRAM) 中。
- 二级引导加载程序 从 flash 中加载分区表和主程序镜像至内存中,主程序中包含了 RAM 段和通过 flash 高速缓存映射的只读段。
- 应用程序启动阶段 运行,这时第二个 CPU 和 RTOS 调度器启动,接着运行 main_task,从而执行 app_main。
应用程序启动包含了从应用程序开始执行到 app_main 函数在主任务内部运行前的所有过程。可分为三个阶段:
- 硬件和基本 C 语言运行环境的端口初始化。
- 软件服务和 FreeRTOS 的系统初始化。
- 运行主任务并调用 app_main。
2.2 ESP-IDF有哪些GPIO API函数?
esp_err_t gpio_set_direction(gpio_num_t gpio_num, gpio_mode_t mode)
GPIO set direction.
Configure GPIO mode,such as output_only,input_only,output_and_input
备注
This function always overwrite all the current modes that have applied on the IO pin
参数:
- gpio_num -- Configure GPIO pins number, it should be GPIO number. If you want to set direction of e.g. GPIO16, gpio_num should be GPIO_NUM_16 (16);
- mode -- GPIO direction
返回:
- ESP_OK Success
- ESP_ERR_INVALID_ARG GPIO error
esp_err_t gpio_set_level(gpio_num_t gpio_num, uint32_t level)
GPIO set output level.
备注
This function is allowed to be executed when Cache is disabled within ISR context, by enabling CONFIG_GPIO_CTRL_FUNC_IN_IRAM
参数:
- gpio_num -- GPIO number. If you want to set the output level of e.g. GPIO16, gpio_num should be GPIO_NUM_16 (16);
- level -- Output level. 0: low ; 1: high
返回:
- ESP_OK Success
- ESP_ERR_INVALID_ARG GPIO number error
void vTaskDelay(const TickType_t xTicksToDelay) Delay a task for a given number of ticks. The actual time that the task remains blocked depends on the tick rate. The constant portTICK_PERIOD_MS can be used to calculate real time from the tick rate - with the resolution of one tick period.
INCLUDE_vTaskDelay must be defined as 1 for this function to be available. See the configuration section for more information.
vTaskDelay() specifies a time at which the task wishes to unblock relative to the time at which vTaskDelay() is called. For example, specifying a block period of 100 ticks will cause the task to unblock 100 ticks after vTaskDelay() is called. vTaskDelay() does not therefore provide a good method of controlling the frequency of a periodic task as the path taken through the code, as well as other task and interrupt activity, will affect the frequency at which vTaskDelay() gets called and therefore the time at which the task next executes. See xTaskDelayUntil() for an alternative API function designed to facilitate fixed frequency execution. It does this by specifying an absolute time (rather than a relative time) at which the calling task should unblock.
The macro pdMS_TO_TICKS() can be used to calculate the number of ticks from a time specified in milliseconds with a resolution of one tick period.
Example usage:
void vTaskFunction( void * pvParameters ) { // Block for 500ms. const TickType_t xDelay = 500 / portTICK_PERIOD_MS;
for( ;; ) { // Simply toggle the LED every 500ms, blocking between each toggle. vToggleLED(); vTaskDelay( xDelay ); } }
2.3 了解while()循环、for()循环、以及宏定义 #define、
while循环:
while( 1 ){

        循环体用户的代码
}for()循环
for ( int i = 10, i > 0, i--){

        条件循环用户的代码
}上述两种,while(1)表示无限循环,而for()循环是有条件的,只循环执行10次,while循环也可以有条件执行,执行条件后,达到条件就会退出循环。
#define 宏定义:
#include "blablabla"

#define led_pin_47 GPIO_NUM_47

gpio_set_direction( led_pin_47, GPIO_MODE_OUTPUUT);宏定义的意思就是事先约定好一件事,比如我事先约定好了LED灯正极连接的的开发板引脚是47号引脚,这样就可以直接在后续代码中直接使用宏定义的引脚了,如上述的代码,#define宏定义是事先约定的内容,所以就必须要求在代码里边的比较靠前的位置写好。
三、如何在VScode编程让ESP-IDF 点亮 LED 灯?
代码实现:
#include <stdio.h>
#include "driver/gpio.h"
#include "freertos/FreeRTOS.h"
#include "freertos/task.h"

#define led_pin_2 GPIO_NUM_2
#define high 1
#define low 0

void app_main(void)
{
    gpio_set_direction(led_pin_2, GPIO_MODE_OUTPUT);
    printf("hello world\n");
    while(1){

        gpio_set_level(led_pin_2, low);
        vTaskDelay(pdMS_TO_TICKS(1000));
        gpio_set_level(led_pin_2, high);
        vTaskDelay(pdMS_TO_TICKS(1000));
    }


}